I created this page for my Africa Charity Project site for the various charities I am helping put their presence on the net. The following are instructions how to create Posts or Pages in WordPress, or edit them later if you want to make sone updated changes.
In WordPress there is an administrator (in this case me), who creates and designs the structure of the website (more complicated), but other roles can be assigned, such as an Editor, Author or Contributor.
An Editor has the second most rights, after Administrator, and can edit existing pages and posts, as well as create new ones.
Create a page or post
The difference between a page and a post is that, generally, pages do not allow comments, while posts do. Sometimes the format is a little bit different.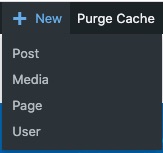
To create a page or post, once logged in, click on the New link in the black strip near the top of your screen:
You can choose Page or Post.
The resulting screen should look something like:
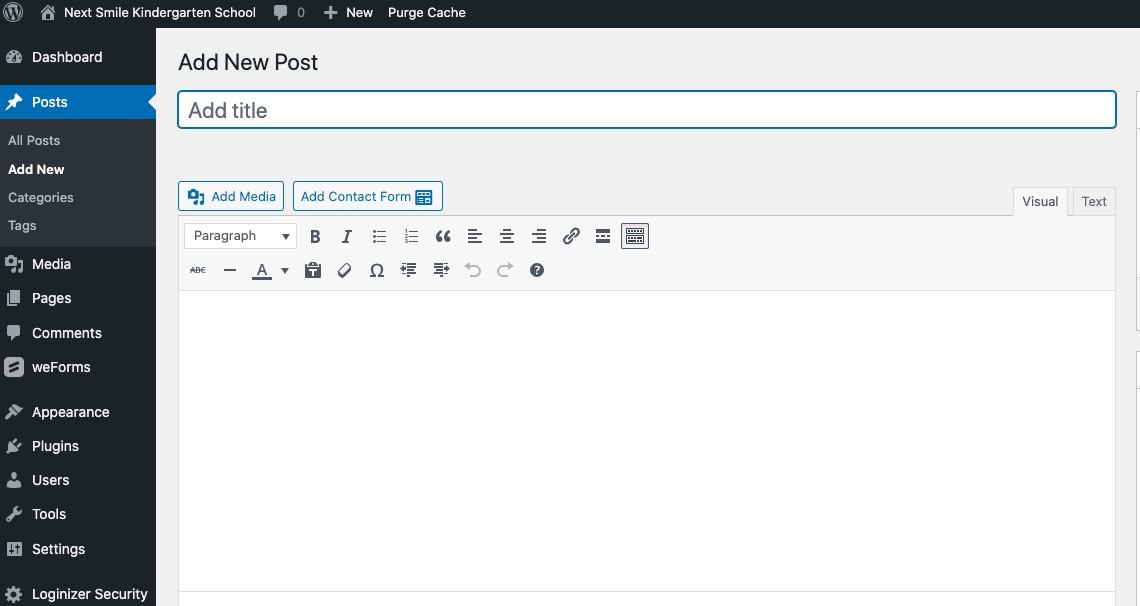
The vertical black strip menu on the left might look a little different for you, since you would not be logged in as administrator.
First thing you would want to do is fill in your Title. This will become the title of your page. Then you could start writing your text in the big white box at the bottom. If you have a slow internet, it could be better to write your text offline first and prepare your pictures/images in advance.
Also, a good practice is to frequently Save or Update your page (icon at the top right of the page) so as to not lose any work.
Headings
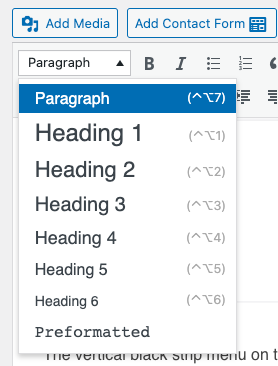 Headings are good because they break up the text into different parts, like my “Headings” text just above. They are usually bigger in size than the regular text. In your top formatting toolbar simply click on the Paragraph icon (image right).
Heading 1 is usually used for the title, while Heading 2 is used for secondary sections, like our “Headings” just above. After that you can create subsections if you like and generally the text gets smaller.
Breaking up your text into smaller sections separated by a white space between paragraphs helps make things easier to read for your readers. But perhaps more important for that is…
Inserting images
Images are very important because they give the reader a break from reading and a pleasant experience. Or they can help explain things, like I did with the little screenshots above. But a few things are important:
- you don’t want your images too large because they will slow the page’s download speed. People are impatient these days and images that are too large are unnecessary.
- for this I like to use the free and powerful software IrfanView, for Windows, but there are many programs that can resize and crop images.
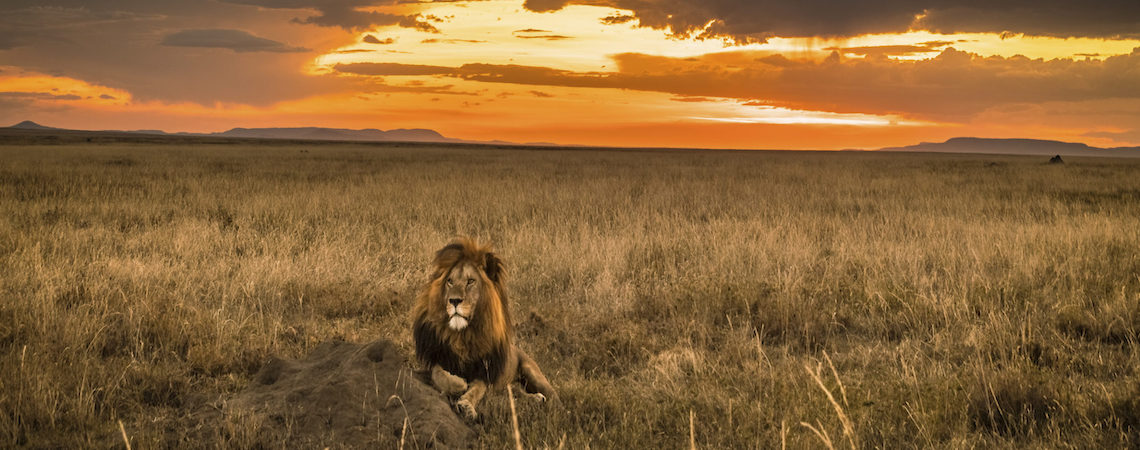
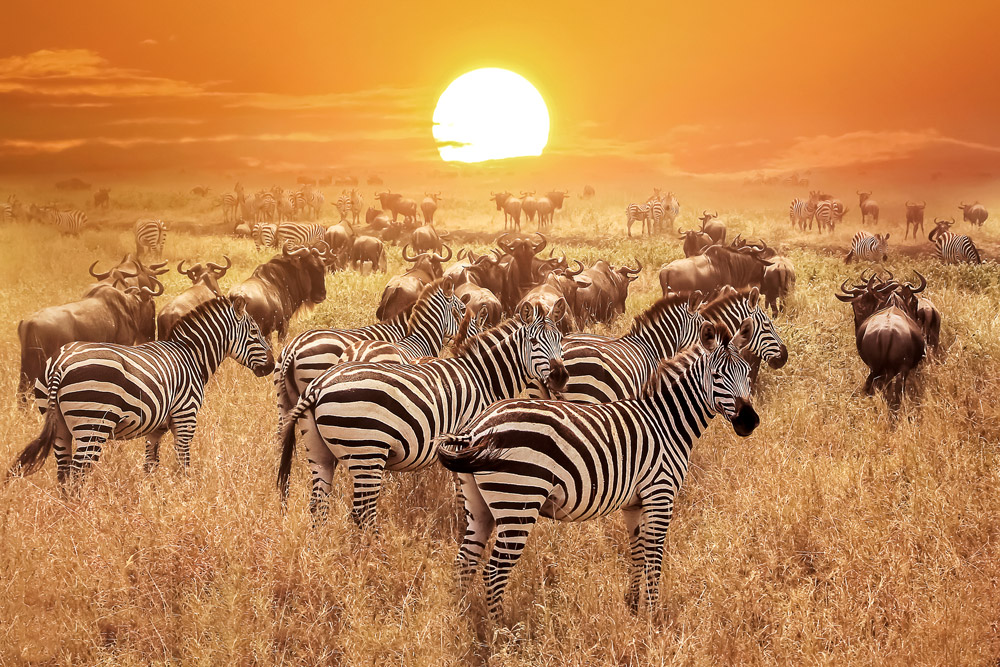
- ideally for page wide pictures like the one of the zebras above, I like to set it at around 1200 pixels wide, and save it in jpg format at about 80% quality or 72dpi. When you upload it to your page you can check its quality. If you can get your pictures to about 100kb in size, plus/minus, your page will load quickly, your readers will be happy, and google will send more traffic to you.
To insert an image, click the Add Media icon above the top toolbar to get the following screen:
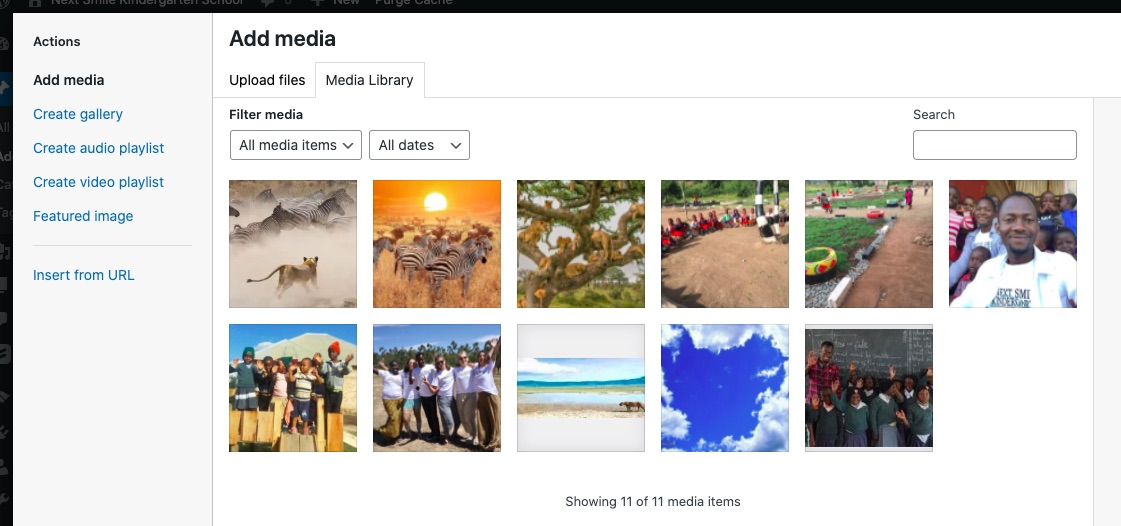
 Your Media Library tab is what you have uploaded already so far, and you can use the pictures again any time for other pages. If you want to upload a new image, just click on the “Upload files” tab.
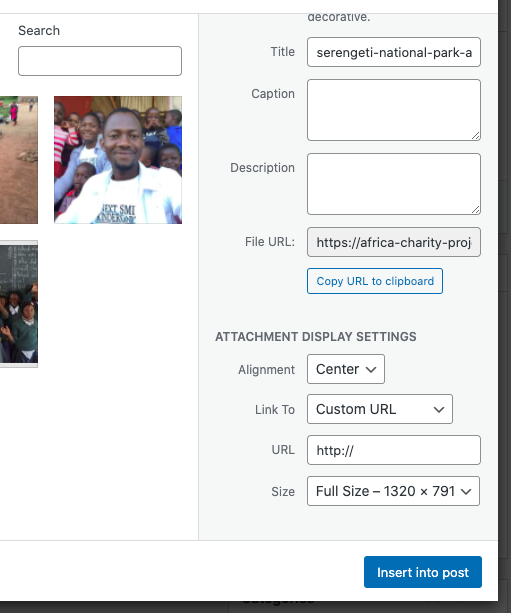
If you upload a new image or click on an existing image in your media library, you should see the following menu to the right.
In the bottom right next to Alignment, if you choose Right, it will appear to the right of the text. Or choose Left or Center. Under that is “Link to”, in case you want the reader to be taken to a different webpage when they click on the picture.
Note that when you click on an image you can easily resize it by clicking on one of the corners and dragging the size, but it is best practice to resize your image in your software beforehand.
Now weren’t those bullet points above useful in making things clear and easier to read? Which brings us to…
The top toolbar

As you can see I have the bullet icon selected. To the right of that the bullets are numbered. To the left is Bold or Italic. You can just hold your mouse still over each icon to see an explanation of what each icon does. At the top right of the first row is a special icon which shows or hides the bottom half of the toolbar.
Conclusion
Once you get used to WordPress, it becomes basically as simple and intuitive as creating files in MS Word. But there is one trick that will help make your work easier:

Once you create or update your page or post, at the top you should find the above strip. RIGHT click on View Post with your mouse and select “Open in new tab”. This will open up a new tab showing what the page will eventually look like to your readers. So whenever you Update your page after making some page (Update icon near the top right), you can go to your output tab to see what it will look like. To update your output page, you can use a refresh shortcut key, such as F5 in Windows or Command R in Mac (Chrome). Note that, because you are logged in, your output will show a black strip at the top that those not logged in will not see.
Happy editing and creating!